Get your own tie-points in Metashape: A Bundler Import Guide
In a previous post, we did the heavy lifting: taking raw, pairwise feature matches and merging them into a globally consistent Bundler (.out) file. We now have our own custom 3D feature tracks.
Now comes the payoff — getting that data into Agisoft Metashape for dense reconstruction and meshing. Below is exactly how to do it, both through the GUI and via the Python API.
The GUI way
Doing this by hand is straightforward, but the order of operations matters. Start by importing your source images into a new chunk — no alignment yet, just the images.
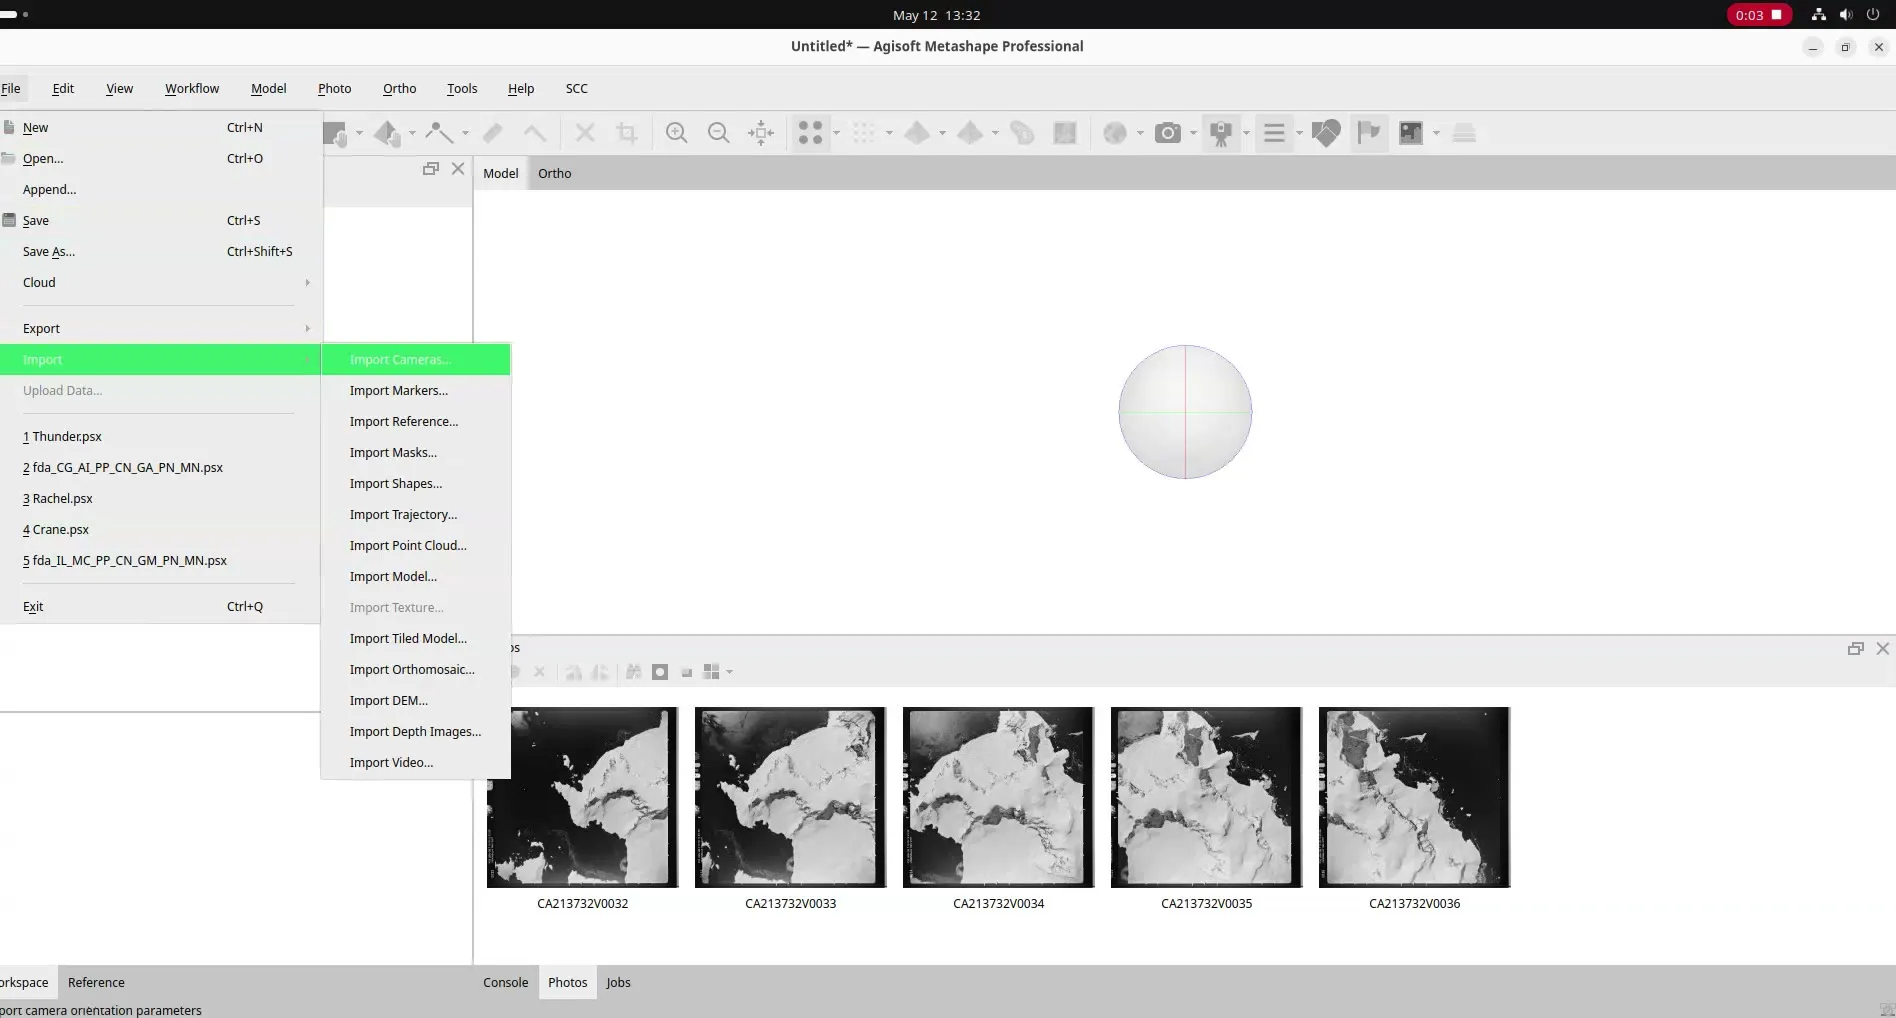
Next, go to File -> Import -> Import Cameras and select your .out Bundler file. Metashape will load the points, but you’re not done yet.
Open the Reference pane at the bottom of the screen, select all cameras, right-click, and choose Reset camera alignment.
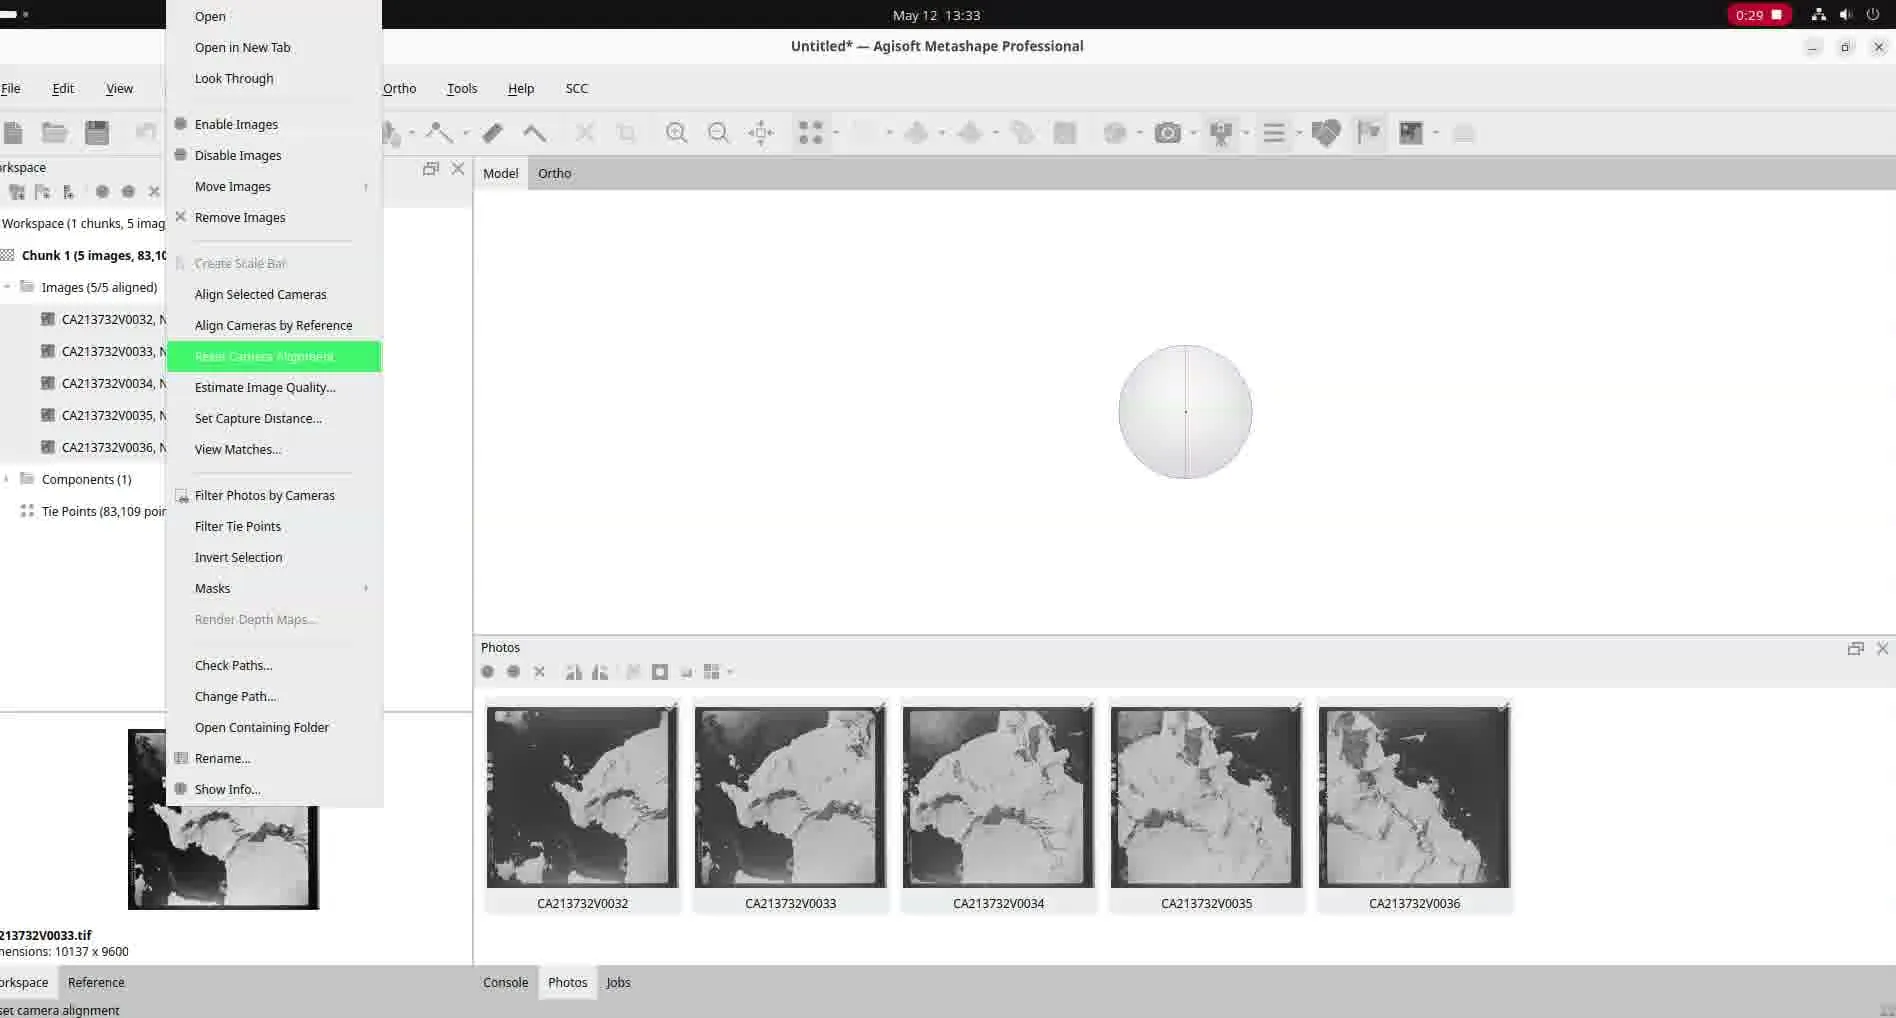
With the cameras still selected, click Align selected cameras. This is important: use this command rather than Workflow → Align Cameras. The latter searches for tie-points from scratch; the former aligns cameras against the points already loaded from your Bundler file, preserving your imported structure.

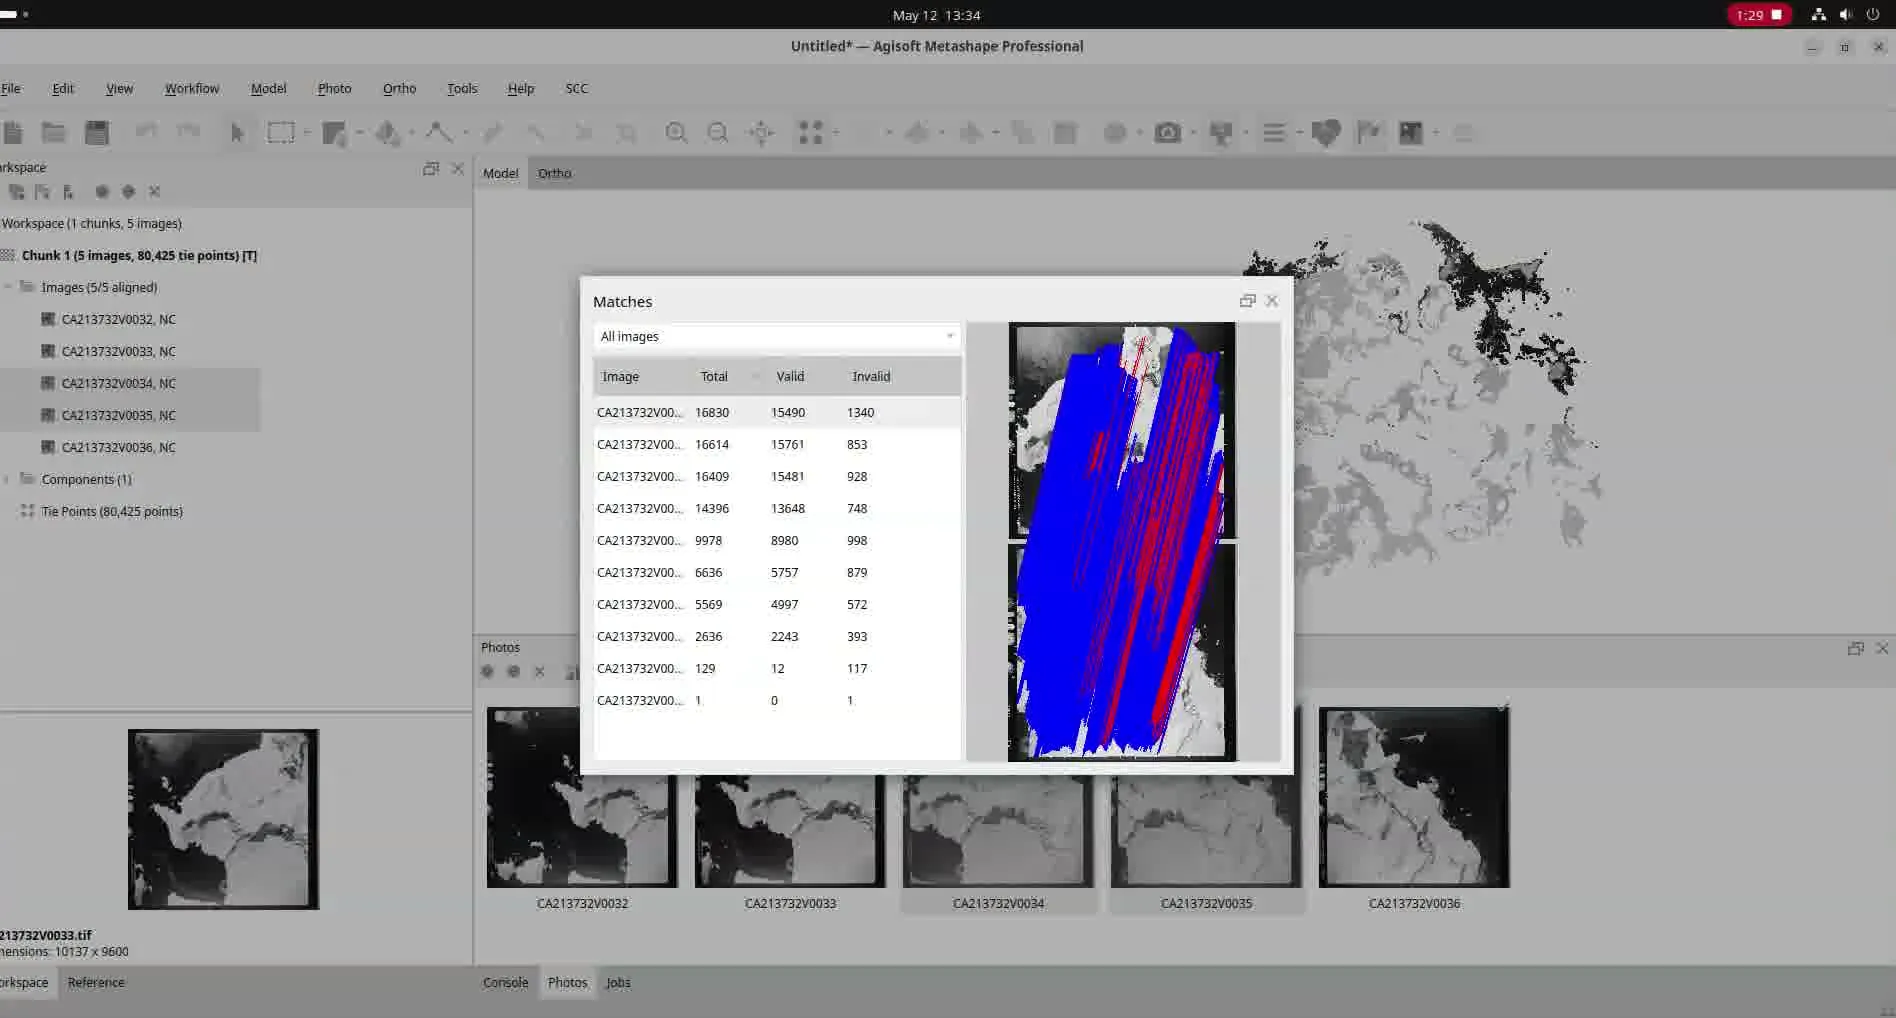
That’s it. You should now see exactly the 3D structure encoded in your Bundler file, with all cameras aligned and ready for dense cloud generation.
The python way
Automating this via Python is a bit trickier. Metashape tends to be overly aggressive during import — it resets the entire chunk state, wiping out any sensor calibrations, coordinate systems, or markers you’ve set up. The solution is to snapshot your chunk before importing and restore it afterward.
Save a snapshot
Before touching anything, iterate through your chunk and save the following into a dictionary:
- Chunk-level: crs, camera_crs
- Per sensor: type, focal length, pixel size, width, height, film camera flag, fixed parameters, rotation, and both user and sensor calibration states
- Per camera: reference location (enabled, value, accuracy) and rotation (enabled, value, accuracy)
- Per marker: label, type, enabled, group, sensor label, projections, and reference data
import the bundler
The actual import is a single API call:
chunk.importCameras(bundler_path, format=Metashape.CamerasFormatBundler,
                    image_list=images_path, load_image_list=True)
Passing an image list file (one filename per line) is strongly recommended. Without it, Metashape may misalign cameras if the sequence in the Bundler file differs from the order images are currently arranged in the chunk.
Restoring the snapshot
With the Bundler data loaded, Metashape is in a default state. Push your saved values back into the chunk. To avoid stale data, delete any existing sensors, cameras, and markers first and recreate them from your snapshot — and don’t forget to explicitly re-link cameras and markers back to their sensors.
Resetting the cameras
Mirror the GUI steps: clear the active component and null out the camera transforms so Metashape will use your imported points rather than anything leftover.
if chunk.components:
    chunk.remove([chunk.components[0]])
for camera in chunk.cameras:
    camera.transform = None # type: ignore
Then align without re-checking for tie-points:
chunk.alignCameras(reset_alignment=False)And you’re done — the same result as the GUI approach, fully automated.